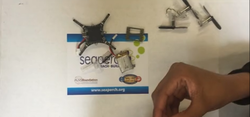
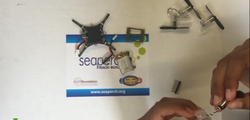
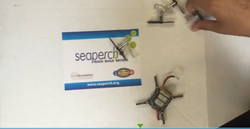
The pieces apart of your drone should look like this. Now, let's assemble!
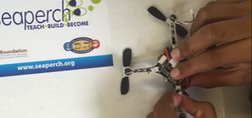
The first step is to twist the wire on all four motors, and this is to just make sure that the wires stay in place when we put them in the motor mount "hooks". After that, you mounts (plastic supporters). They need to be pushed in all the way, so make sure that they are inserted properly.
The next step is to place your battery onto your drone circuit board that is covered with a rubber pad, so that it prevents the battery from slipping off.
After attaching the rubber pad, you add the battery bracket which keeps the battery in place while you are flying.
Then, you attach the twisted wires into the hooks that are underneath the motor mounts
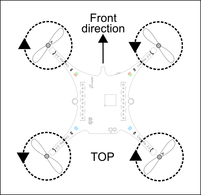
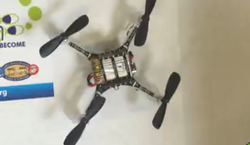
After, you attach the motor mounts onto the drone's wings and make sure that it is connected to the drone itself. At this point, you should already have your propellers on. There are two different propellers, Clock Wise and Counter Clock Wise propellers. The CW propellers have an A on them, while the CCW doesn't. When attaching the propellers, you simply push them on to the motors and make sure that the same propellers are diagonal from each other. Like this:
Once you've completed that, you attach the battery wire to the circuit board on the drone, and when you have done that, flip your drone right side up.
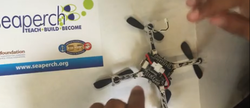
Finally, press the button that is near the battery wires and circuit board to turn on your drone. Wait for the green lights to flash and for all the propellers to spin before flying. Once that is done, you're ready for flying!
